Probably the number one question I get from people (after which camera should I buy) is “what is your workflow?” For the past two years I’ve published three different articles on my workflow, 2008, 2009 and 2010. Because my workflow changes so much over time, I figured now would be as good a time as ever to update this post for 2011.
I process *alot* of images. I’m trying to publish 1,000,000 photos online before I die — because of this it is imperative that I am as efficient as I can possibly be with the time that I spend processing images. I’m sure I could do some things better/faster, but I’m pretty comfortable with my system right now which is as follows:
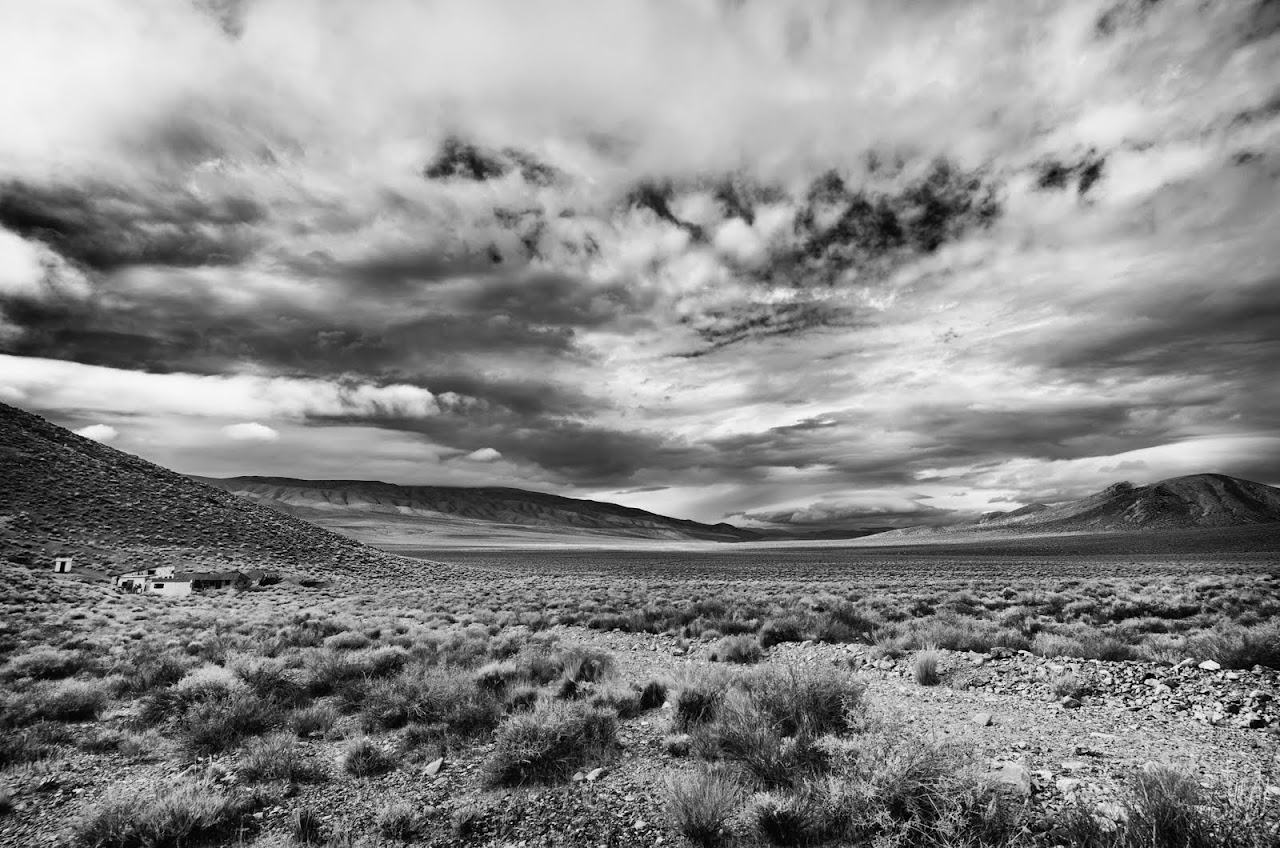
Step 1. Capture the Images. At present my daily set up includes the same Canon EOS 5D Mark II camera that I’ve been shooting with for a few years now and five Canon lenses. The 14mm f/2.8, the 24mm f/1.4, the 50mm f/1.2, the 100mm f/2.8 macro and my favorite lens the 135 f/2.
Step 2. Import the images. I’ve got a high speed Hoodman FW800 card reader and four SanDisk cards (8GB, 16GB, 32GB and 64GB). Usually I just let Adobe’s Lightroom 3 import my images from my cards. LR puts each day’s image into a folder properly labeled with that date, so if I’ve got more than one day’s shoot on a card LR will automatically put the images in the right folders by day. If I’m out shooting in the field and need to dump a card and don’t have as much time, I might manually create a date folder myself and simply drag and drop the files from my CF card to the folder on my 17 inch MacBook Pro. This gets the photos to my computer faster.
Step 3. Back up the images. As soon as is practical (and hopefully before I’ve reformatted my CF cards) I will either transfer a day’s photos from my MBP hard drive to a drobo, or I’ll make sure that I’ve run Time Machine on my MBP’s internal hard drive. My drobos have two primary folders, photos to be processed and photos already processed (aka archive). I keep my drobos in a fire proof safe that’s bolted to a cement floor. I also keep copies of my files offsite. I did start using cloud storage as well but cancelled Mozy when they raised their rates. I’ve looked at a couple of the other cloud storage solutions but haven’t really found anything that is compelling for me yet.
Whenever I travel to shoot I always make sure that I bring my Time Machine backup drive and run it each night on the photos that I’ve already shot on that trip.
Step 4. Reimport the images For the most part I try to process in the order that I’ve taken the photos in. Sometimes I’ll skip ahead to process one or two photos from a photowalk, or if an event (like the Oakland riots) is time sensitive. But most of my work is not time sensitive and so I’ll just take my oldest unprocessed day and begin working on it. Right now I’m pretty far behind on my processing. I’m working on images from a Nashville trip from January 2010.
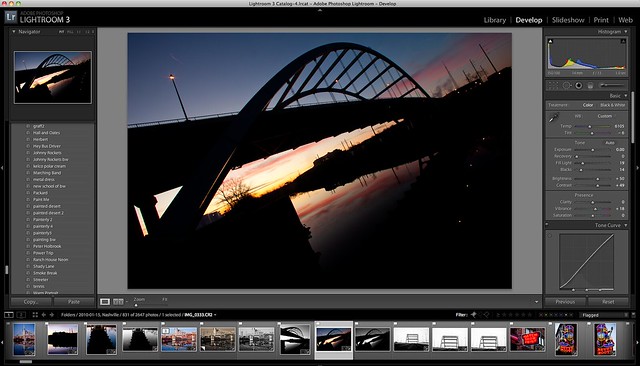
When it’s time to work on new images, I’ll copy that folder for that day’s images from my drobo to my MacBook Pro hard drive. Immediately Time Machine begins backing it up. I process most of my images on a 27 inch Apple Cinema Display. It’s great to have that as a second monitor. Note, if you leave Google+ on one of the displays it’s hard to get any actual processing work done. 😉
I’ll import a day’s image into my current Lightroom catalog and begin work from there.
Step 5. Flag Images. The first thing I do with a folder’s images when imported into Lightroom is begin flagging the images that I’m going to want to process in Lightroom’s Library mode. How many images vs. frames that I process depends on the shoot. On some shoots I’ll process almost every image. On other shoots (like a sports event or runway models) I’ll way overshoot. In terms of the images for Nashville I’m working on right now, I’ve flagged 830 out of 2,646 photos for one of the days that I shot there.
Step 6. Process Images. Once I’ve flagged all of the images I want to process, I’ll filter by flag and begin one by one going through these images in Lightroom’s develop module. Each image is processed one by one by hand. I do have a ton of presets and sometimes I’ll use some fo these as jumping off points — many of these presets I’ve made myself, others I’ve found on the web, have been given by friends, etc. Most of the time though I don’t use presets and I just start tweaking the image using the various LR controls for what looks good to my eye and artistic sense.
I use most of the tools available to me. Frequently I crop images, boost contrast or vibrancy/saturation, increase blacks and fill lighting, use cloning tools to remove the horrible dust from the 5DM2 and definitely apply Lightroom 3’s killer noise reduction tech as needed.
Less than 3% of the time I’ll want to do something even more than what I can do in Lightroom and I’ll bring the image into Photoshop to do some work on it there. You have to be careful with Photoshop though because when you bring an image in there it’s not uncommon to look at your watch and realize you’ve been working on the same image for the past 2 hours. 😉
Sometimes if something really works in black and white I might bring it into Nik Software’s excellent Silver Efex Pro. The black and white conversion effects available in there are remarkable.
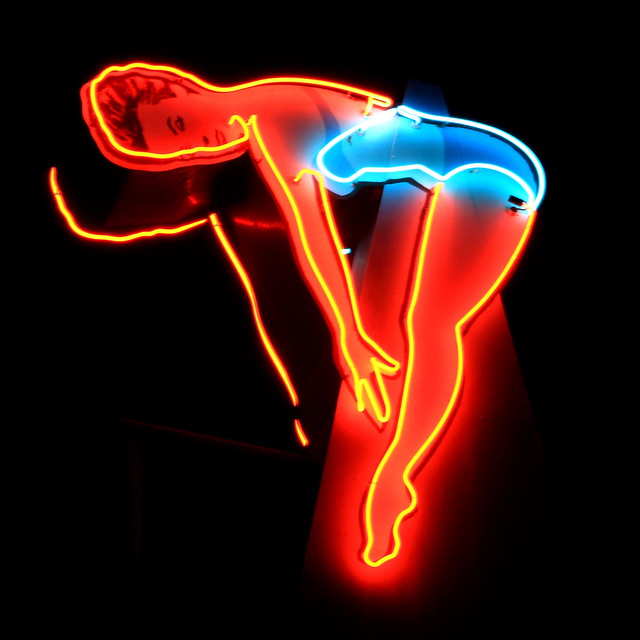
Step 7. Keyword. Once I’m done processing each of my flagged RAW images, I’ll begin keywording them. First I’ll apply the broad keywords that apply to everything (eg. United States, United States of America, USA, Tennessee, Nashville). Then I might select multiple images to keyword, (all of my neon shots, all of my bw shots, etc.). Finally I’ll go through each image one by one to add unique keywords (i.e. sunset, Tootsie’s Bar, guitar, graffiti, etc.).
Step 8. Title photos. I spend a great deal of time on my photo titles. For me each image conveys a message. Some titles are obvious and descriptive. Other titles are more personal to me. Titles can be meaningful or random. Alot of my titles come from music. Alot come from poetry. Most are just made up out of things coming from my head. In the meta data “title” field I’ll title each image.
Step 10. Save metadata. A quick cmd-s saves all of my keywords and titles to my photos once I’m done with this process.
Step 11. Export files. Once I’m done with my processing, keywording and titling I’ll export my RAW files as JPGs for online publication. I export at full resolution. I don’t use or apply any crappy watermark. These finished photos then go into a “to be uploaded” folder to be added to about another 20,000 images that are waiting to be published. I title the file titles descriptively (eg. Oakland, Jan 2010, street — note these are just the JPG file titles, the actual image titles are in the meta data).
Step 12. Save folder as a catalog. After I’m done with all this, I will save the folder as its own Lightroom catalog. I then move this catalog file into the folder with the RAW images itself. This way if I ever need to go back and process more from that day’s shoot, I’ll know exactly how I left things when I was working with those images from before. Once this is done I’ll copy the day’s folder into a new archive folder on a drobo and delete the folder from my MacBook Pro’s hard drive.
Step 13. Geotag. Usually I geotag if it’s easy. If I’m shooting all of my images in one place (like a comic book convention in Houston) I’ll simply select all of those exported JPG images and use the application Geotagger to write geotags to them. Geotagger works by me loading up Google Earth and then manually finding the spot I took the photo and then dragging the files over the Geotagger icon in my dock.
I always get people suggesting to me that I use an actual GPS unit (or even my phone) to do my geotagging instead. Basically it’s just not worth the hassle to me. I know it’s gotten easier over the years, but I have to believe that we’ll see in camera geotagging reasonably soon and I just haven’t wanted to invest the time, money, or energy in coming up with a solution here. I hate that with most solutions that I have to synch my DSLR’s clock up with a phone/GPS unit and that I’d have to deal with merging files later, afterwards.
Step 14. Upload. Each day I do two batch uploads to Flickr, 25 images in the morning, 25 images at night. These images are largely pulled randomly from around a 20,000 image bank of reserve photos I have. I’ve also selected about 7,000 of what I feel are my stronger images to upload to Google+. I upload more sparingly to Google+ uploading 5 images spread out during the day there. These are my primary two places that I publish my work online. I’ll also put up some images up on 500px as well, but not systematically like I do with Flickr/Google+. If a photo of mine gets a lot of +1’s on Google+ I might also publish that photo to my blog.